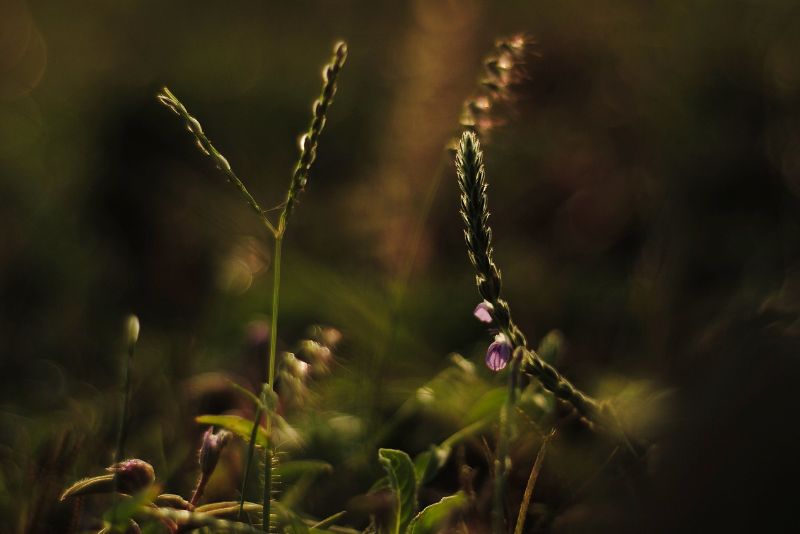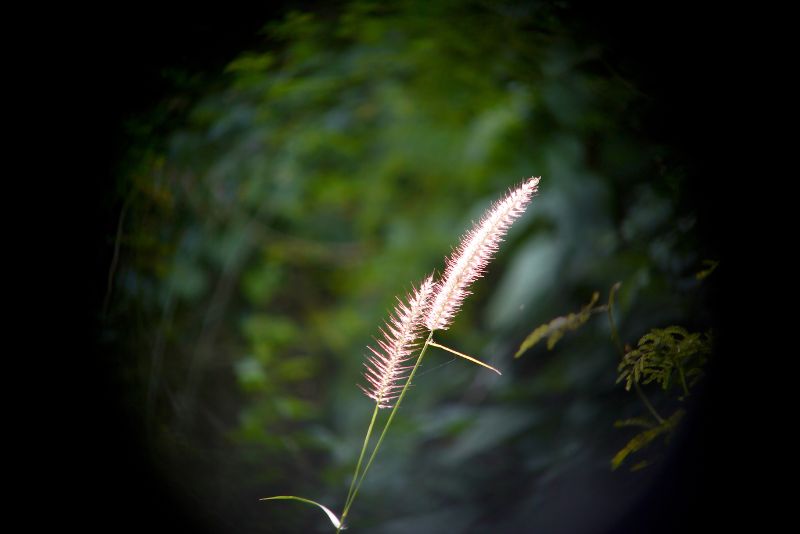
Rim lighting is one of the most powerful and dramatic lighting techniques in photography. This backlighting method creates a glowing radiance around your subject, separating them from the background in a striking way. In rim light photography, the rim lighting source behind the subject illuminates their silhouette, making them “pop” against dark backgrounds. When done right, rim lighting can transform an ordinary photo into an extraordinary, professional-quality image.
In this in-depth guide by Avish Films, we’ll teach you everything you need to know to master the art of rim light photography, from the basics to advanced techniques. You’ll learn how to set up optimal rim lighting setups, properly expose your photos, and use rim lighting creatively for stunning portraits. Let’s get started!
The Science Behind Creating a Rim Lighting Effect
To create a rim effect in your photos, you need to position a lighting source behind your subject from the background and aim it towards the camera. When the light hits the edge of your subject, it creates a thin sliver of light that outlines them in the frame. This rim lighting effect works because of the law of refraction.
When light passes from one medium to another (like air to a solid object), it changes direction slightly – a phenomenon known as refraction. Some of the light also reflects backwards. This reflected light neatly outlines the subject, separating them from the darker background.
The optimal angle for backlighting is around 45 degrees. This allows enough light to spill onto the edge of your subject without being blocked by their body. You can adjust the angle as needed to fine-tune the rim light effect.
Choosing Your Rim Lighting Source and Setup

To create gorgeous perimeter lighting in your photos, you need an adequate lighting source. Here are some types of lighting:
Natural Light
Nothing beats the pure, gorgeous quality of natural sunlight. To use natural light for edge lighting, position your subject facing away from the sun, with the sunlight hitting them from behind. A sunrise or sunset provides the best directional light. You can also use a reflector on the opposite side to bounce more light onto your subject’s face.
Studio Lighting
Strobes and continuous light sources allow the most control for professional hair light portrait setups. Position a strong key light in front of your subject to illuminate them. Place a less intense halo light source behind them, angled towards the camera. Use flags to prevent lens flare.
On-Camera Flash
For quick Contre-jour lighting lighting on the go, use your camera’s pop-up flash or attach an external flash. Bounce the flash off a wall or reflector behind your subject to create backlighting. You can also trigger off-camera flashes remotely.
Reflectors
Reflectors like collapsible discs help redirect existing light. Position a reflector behind your subject to bounce light back onto them for gentle, diffused separation lighting. A gold reflector will add a warm glow.
DIY Lighting
For fun silhouetting anywhere, use flashlight beams, Christmas lights, or other non-traditional lighting sources. Get creative with household objects to craft your own unique rim lighting setup.
Crafting the Perfect Peripheral illumination Composition
Once you’ve set up your lighting equipment, it’s time to compose your rim lit shot. Follow these tips:
Focus on Backlighting
Position your subject between the light source and camera to create a striking silhouette. Their darkened outline pops against the bright border light behind them.
Frame Tightly
Compose your shot tightly around your subject so the marginal light encircles their outline. Leave minimum negative space around them.
Choose Backgrounds Wisely
Dark or plain backgrounds make the rim lighting stand out. Busy backgrounds can distract. Black backgrounds make colors pop.
Enhance with Hair & Halo Lighting
Raise the light source higher to create hair lights or halo lighting. This backlights flyaway hairs for extra separation from the background.
Include Props Strategically
Add props like reflectors or gobos to add interest and shape the light creatively. Use a black gobo behind your subject to intensify the fringe lighting effect.
Shooting Rim Lit Portraits
Contour lighting can work exceptionally well for a dramatic rim light portrait. Here are some tips:
Separate the Subject
Have your subject look towards the camera while the contour light illuminates them from behind. This lighting pattern will make them stand out.
Create Mystery
Limit eye contact or hide part of their face in shadow. Obscuring facial features add intrigue and mystery.
Try Direct Eye Contact
For an intense look, have your subject make direct eye contact with the camera. The light behind them makes their gaze piercing.
Include Catchlights
Add a subtle fill light in front to create catchlights in your subject’s eyes. This adds liveliness.
Shoot Wide Apertures
Use a wide aperture (like f/2.8 or lower) so your subject remains sharp while the background blurs into a creamy bokeh.
Perfecting Exposure for Seamless Rim Lighting
Balancing exposure is crucial for professional-looking rim lighting. Here are some tips:
Expose for the Subject
Meter your exposure off your subject’s face and set it properly. The outlining light should not overpower them.
Lower the Rim Light’s Strength
If the rim light is too strong, your subject will be a silhouette. Lower the rim light’s intensity until you achieve balance.
Add Fill Light
Using a reflector or fill light in front fills in facial shadows caused by the backlighting. This creates a more flattering look.
Adjust the Angle
Directing the rim light at a sharper angle gives a tighter, more focused effect. A wider, diffuse angle creates a softer halo.
Overexpose Slightly
Since rim lighting tends to underexpose images, overexpose by 1/3 or 1/2 stop for a perfectly balanced exposure.
Advanced Rim Light Photography Techniques & Tips
Once you’ve mastered the basics, try these pro rim lighting techniques to level up your photos.
Use Colored Gels
Coloring your lights with gels creates vibrant, moody backlighting. Blue is icy while amber and orange are warm and nostalgic.
Backlight Imperfections Point lighting intentionally overexposes imperfections like flyaway hairs. Embrace this ethereal, dreamlike effect.
Light Painting For trippy rim lighting, have your subject move as you take a long exposure. The rims will streak and glow creatively.
Multiple Rim Lights Flank your subject with rim lights on both sides to create a striking multi-rim lighting effect.
Lighting Both Sides Place rim lights on either side of your subject’s face to sculpt and add depth. Feather the lights to avoid flatness.
Composite Images
Take two exposures – one for your subject and one for the rim lighting. Composite them together for maximum control.
Shoot Wide Open At the widest aperture, your subject will be razor sharp against a blurred, glowing rim light background.
Boost Contrast
Increase contrast in post to make the rim lighting pop even more. Darken the shadows too.
Incorporate Practicals Use string lights, lamps, or other practical light sources in the scene to add interesting layers of light.
Shape the Light Use flags, cucoloris, or gobos to create patterned rim lighting. Cut window shapes in black cards.
Rim Light Other Objects Don’t limit yourself to subjects – rim light inanimate objects to create unique, edgy lighting effects.
Takeaways
The creative possibilities are endless with rim lighting. We encourage you to experiment with different lighting setups and angles until you find your own signature rim lighting style. This versatile and dramatic lighting technique is sure to take your photography to the next level.
Gangtokian Web Team


